Navigate to:
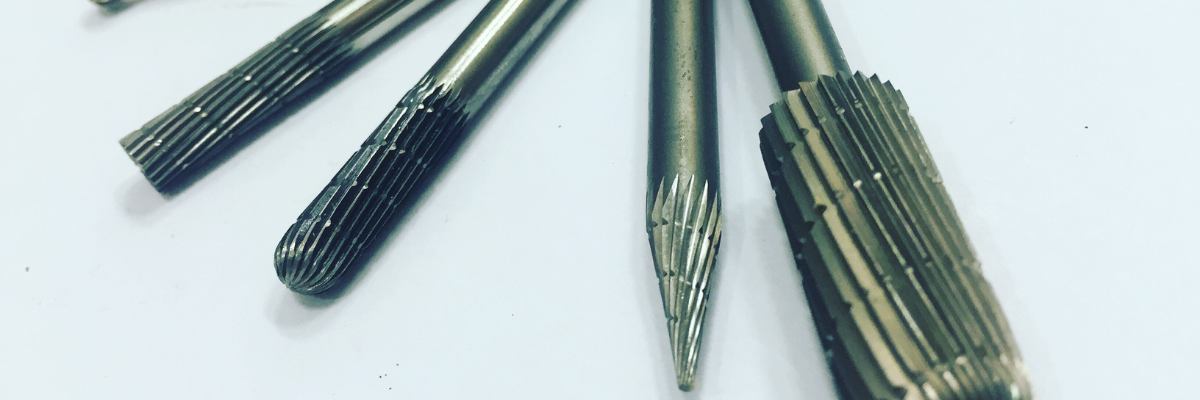
If you aren’t using disposable burs, then the sterilisation and maintenance of dental burs is a vital task for any practitioner. Proper maintenance helps to keep your burs cutting at their optimal efficiency, and sterilisation is, of course, necessary for preventing infection and keeping your patients safe. So, how best to maximise your burs’ lifespan and efficacy? We’ve written this short, helpful guide to walk you through everything you need to know about keeping and maintaining burs.
Please Note: We do not recommend the reuse of single-use or disposable burs. Reusing these burs can lead to an increased risk of cross-contamination, impact patient safety and tarnish the effectiveness and finish of your clinical procedures.
Why Dental Bur Maintenance Matters
A well-maintained bur cuts easily and efficiently, requiring less force and generating less heat as it works. This helps to reduce tooth and tissue damage. The surface of a well-maintained bur is at the precise level of coarseness needed and hasn’t been smoothed down by consistent use. This all contribute to a better experience, with less vibrations and increased precision when cutting. This increase in precision is particularly important for patient safety, and providing the best results from procedures that you can.
A single, well-maintained bur might, in some instances, outlast packs of disposable burs, giving you a better return on your investment, improved patient safety, and a higher-quality tool for your work.
Bur maintenance may sound daunting, but it is a simple process, and one which pays dividends.
Cleaning vs Sterilisation: What's the Difference?
This may seem a basic topic, but it’s always worth touching base and reminding ourselves on the differences between these terms.
- Cleaning: Cleaning is the removal of any material or deposits which may attach themselves to a surface. This can include common contaminants such as blood.
- Disinfection: Disinfection is the destruction of harmful bacteria and viruses on a surface.
- Sterilisation: Killing any and all microorganisms on a surface.
Before you disinfect, or sterilise an item, it needs to be cleaned first. If a deposit remains on your bur’s surface, it could easily harbour dangerous bacteria, and so cannot be considered sterile.
It’s important to remind yourself of these fundamentals when building a dental bur cleaning routine, so as to ensure proper procedure is followed.
A Step By Step Guide On Cleaning Burs
Manual Cleaning:
Please note: Cleaning by hand is not a recommended method and should be avoided in favour of other cleaning techniques if possible.
- Using a sink and workspace reserved for cleaning tools, rinse your bur in warm water for at least one minute.
- If your bur manufacturer has instructions regarding which cleaning solutions can be used, follow them. Generally, it is recommended that you use a ph-neutral cleaning solution, mix it with water and leave your bur in the solution for over fifteen minutes.
- During this time you may use a soft brush or gentle sponge to clean off any rough deposits. Be very careful to not splash your cleaning solution or get droplets on your person, as they likely carry contaminants. Please also note that you need to use a soft brush or sponge, as higher abrasion may damage the bur’s surface
- After visually confirming that there are no deposits remaining on the bur’s surface, rinse the bur under warm water for one more minute, and dry.
Ultrasonic Cleaning
Ultrasonic cleaners will likely have their own instructions, please follow them primarily, this is intended to be a general guide.
- Place your bur in the ultrasonic cleaner’s basket, or in its own bur basket for cleaning. Then lower the basket into your manufacturer’s preferred cleaning solution.
- Sonicate your bur for at least fifteen minutes.
- After finishing, retrieve your bur and rinse for at least one minute under warm, clean tap water.
- Finally, dry using clean compressed air, or a wipe that does not shed or break.
Sterilisation Methods
Autoclaving
Autoclaving is possibly one of the most common methods of sterilising tools or equipment in the modern dental practice, and it’s hard to beat in terms of its convenience, speed, and efficacy.
The process of autoclaving is simple:
- Place your bur on a cassette, or in a sealed sterilisation bag.
- Place it in your autoclave’s chamber and run its recommended cycle.

The Melag Vacuclave 305 has record cycle times, with cleaning and drying happening within 6.5 minutes.
Chemical Sterilisation
Also known as chemical vapour sterilisation, this is a kind of sterilisation which requires specialist chemicals, equipment, and may not work with all types of bur. The process for chemical vapour sterilisation varies, but broadly, it includes putting your burs into a pressurised chamber with a concoction of chemicals designed to vaporise. Then, applying heat and leaving the procedure to occur over a set period of time.
Post‐Sterilisation Storage
Sterilised burs can be stored in their sterilisation pouches or cassettes until you’re ready to use them again. Do not handle with your bare hands and avoid storing in bur blocks, as bur blocks have not been designed to provide a sterile storage space. Finally, once you're ready to use your bur again, always inspect for damage and quality before use.
Shop Sterilisation Pouches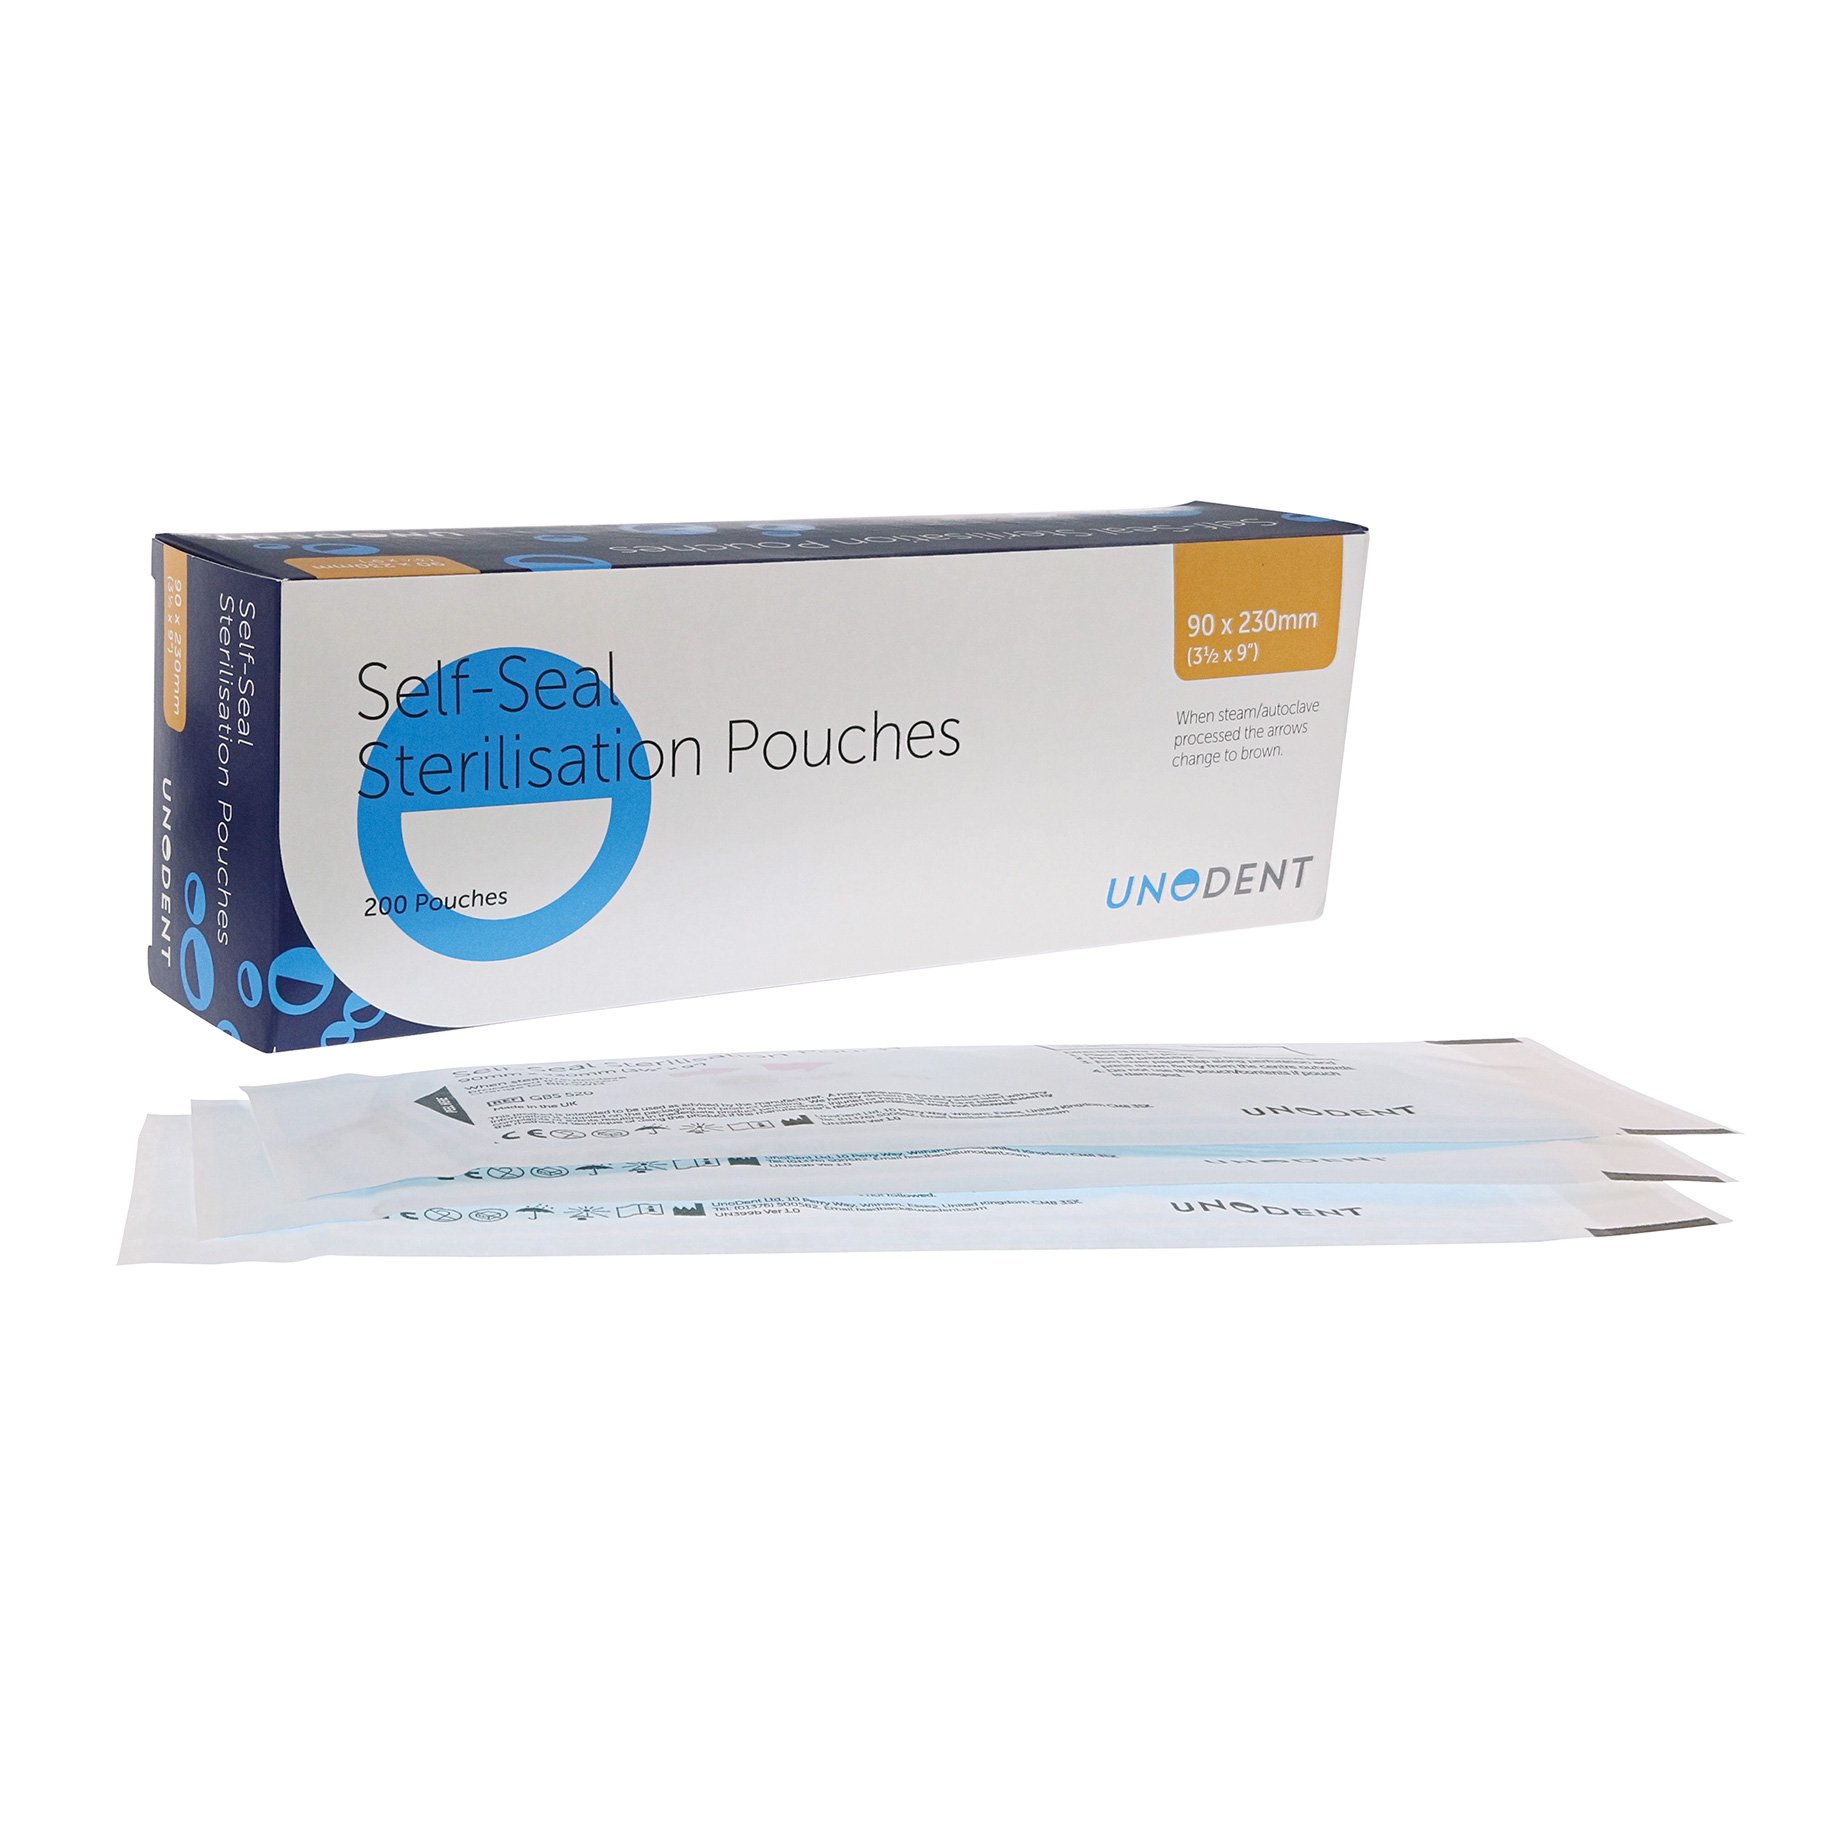
UnoDent Sterilisation Pouches No. 520 feature self-sealing adhesive, steam indicator arrows for easy identification.
Common Sterilisation Mistakes
Double Check for Cleanliness
One of the easiest times during the cleaning–sterilisation process for a mistake to be made is during cleaning. Always ensure all deposits are removed from the surface or crevices of your bur before sterilisation. Manual cleaning isn’t recommended due to high potential for human error.
Always Dry, and Always Dry Right!
You need to dry your burs before autoclaving. If drying manually, only use clean compressed air or a tear-free cloth—fraying fibers can leave residue, contaminating the bur.
Keep It Clean
Always keep burs clean and sterile. Using contaminated burs can harm patients. Maintain sterilisation records for each bur batch and verify before use.
How Often Should Reusable Burs Be Replaced?
A reusable bur can last quite a long time but you will need to replace it as soon as its performance begins to degrade. Burs should cut or abrase surfaces easily, quickly, and with minimal heat build-up. Anything less than this is an unacceptable level of bur performance.
How many uses can I get from a single bur?
This question depends largely on the material and brand of the bur, as well as the tasks it is being used for, the technique of the user, and several other factors. A diamond bur, for example, may only last five uses because after repeated autoclaving it is showing clear signs of debonding. Whereas a high-quality cutting tungsten carbide bur may be able to last ten or more uses before showing any signs of degradation.
What are some signs that my bur needs replacing?
There are many signs that your bur needs to be replaced, we’ll list some for you:
- Decrease in cutting/polishing performance
- Chemical damage
- Rust
- Clear debonding of grit material from bur (diamond and zirconia)
- Change in bur colour or texture
How To Maintain Your Burs
Now that the topic of sterilisation has been handled, let's talk about how to maintain your burs.
Don’t just rotate your burs, rotate your stock!
Burs can degrade quickly with regular, consecutive use. If you have re-usable burs, be sure to keep multiple in rotation, rather than just wearing down one bur and moving on to the next. Having multiple back-up burs is good practice and ensures that you always have an alternative if one isn’t performing up to standard.
Gently does it
Never force your bur into a chuck, and when using your bur, always be sure to use more finesse than strength. A bur should cut easily, and if you find that isn’t the case, the bur should be discarded and a new one should be used. Unnecessary pressure can generate a lot of heat very quickly.
Avoid overheating!
Overheating your bur is very dangerous and can easily cause harm to your patient, damaging soft pulpal or mouth tissues, or causing fractures. High heats can even damage your bur, meaning it won’t be able to grind or cut as effectively in the future. So always be sure to use plenty of clean water coolant and always manage your bur’s speed and grit. There are some bur materials which function more effectively under higher heats such as ceramic, which has great thermal properties and can be used at higher temperatures.
Always, always check your tools
Your handpiece, your handpiece chuck, and your bur should always be checked before use. Make a routine of checking these three things before performing a procedure to ensure that your handpiece is operating at its optimal condition before use.
Why is my bur overheating?
Burs can overheat for any number of reasons, too much pressure being applied, too much speed for its level of grit, not enough water coolant, or not enough motion in your technique. Often, if a bur is overheating regularly, it needs replacing. If you tend to find that your burs overheat regularly, despite how often you replace them, consider your technique, and how you can help to mitigate heat build-up.
What are the common types of wear for a dental bur, and what do they do?
There are four common types of wear for a dental bur, these being degradation, debonding, rust wear and chemical wear.
- Degradation is when the abrasive or cutting surface of a bur slowly erodes, becoming smooth, blunt, and unable to function well.
- Debonding is when the bonding surface of say a diamond or zirconia bur gives way, and the diamond-studded surface begins to lose its diamonds, also making it smooth and less effective.
- Rust Wear is when a bur has been exposed to too much moisture for too long, making its surface rough, brittle, and much more likely to harbour contaminants.
- Finally, Chemical Wear is when a bur has been damaged due to exposure to corrosive chemicals. This makes the bur rough, brittle, and more likely to retain contaminating material.
What does rust wear look like?
Rust Wear may make any part of a bur appear discoloured, often a reddish-brown colour. This will also impact the texture of the bur, making it rougher, thinner, and more easily broken. Rust often appears in flecks where moisture has contacted the metal before expanding outward to slowly take up more space. A bur should be discarded the moment it shows signs of rust.
What does chemical wear look like?
Chemical wear may not have a telltale discolouration like rust does, but it will provide a similar change in texture and quality.
Can all burs be autoclaved?
With the exception of single-use burs. Yes all other types of burs can be autoclaved. The primary means of cleaning dental burs is autoclaving, be sure to follow all steps of the cleaning and drying procedure before autoclaving. Lab burs and discs aren’t always used intraorally and may be disinfected via other means in those instances.
Should my bur stick out from my handpiece?
No, your bur should be firmly fixed into your handpiece. If your bur sticks out too far, you may not be able to control it with the precision necessary for most procedures.
What are the different types of dental burs?
Not sure on what kind of bur suits your clinical procedure? Our full guide to dental burs walks you through the different materials, types and use cases.
Looking For Dental Burs?
At DD we understand that the perfect bur selection can decrease operative times, improve patient comfort and are an integral part of the treatment process. With a wide range of shank styles and head shapes, clinicians can select the best possible option, with advanced design features.
Shop Dental Burs Now