What is IPR, and what makes it so important?
Interproximal Reduction is a foundational part of modern orthodontics, it involves the re-shaping of enamel to create space between teeth. This is typically used to create space, or to avoid removing teeth. While using abrasive force to enlarge the gaps between a patient’s teeth may sound off-putting to some patients, the procedure is generally painless, quick, and easy.
The creation of space is important for several reasons. Firstly, it helps to avoid crowding, when teeth overlap, make contact with one another, or are generally crooked. As you likely know, crowding is something which needs to be carefully managed or treated, otherwise the patient is at a higher risk of developing caries, gum disease, or even traumatic injury. IPR is one of the first steps a practitioner may use to reduce or relieve crowding, however, it is also used in helping to prepare teeth for use with aligners, or black triangle reduction in adults.
Reductions usually stay under ½ a millimeter, and as enamel does not have any nerve endings, IPR is usually completely painless. Though, mouth cleaning with an alcohol-free mouthwash after IPR is encouraged.
How does IPR Work? A step-by-step guide.
Firstly, this kind of work requires careful consideration. So, the first step will be the planning and mapping phase. This is often done digitally through 3-d imaging and software designed for IPR planning. One additional considerations for patients looking to get an aligner, is that the practitioner will potentially need to consider the protocols required by the aligner their patient is looking to use.
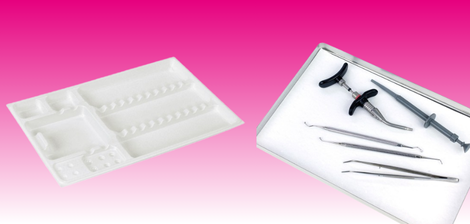
The next step is isolation and moisture control, every practice has their own method for this but a dental dam and a saliva injector are two common methods. The dental dam helps to isolate the tooth, and the saliva injector helps to keep it dry.
The next stage will be selecting your instrument. We’ll be talking more about instruments shortly, but the choice is between manual IPR and mechnical IPR tools. Manual IPR is typically lightning strips, and mechanical IPR is usually conducted utilising a handpiece and rotating ipr disc.
This stage is the reduction stage. Using your tool of choice to wear down the enamel between the chosen teeth.
Quickly following the reduction is the smoothing and polishing phase, this typically uses polishing strips or discs. This leaves a nicer aesthetic and better-feeling teeth for the patient.
After this, it’s important to undergo an evaluation of your successful reduction, this can be done utilising an IPR gauge, or via other means.
Finally, there is the matter of sorting your paperwork, and instructing your patient on their next steps!
I’m a dental nurse – what should I be aware of during an IPR procedure?
Firstly, as you likely well know, communication with other members of your team regarding their expectations and instructions is the cornerstone of an effective IPR procedure. If you’re working with a dentist, they will (hopefully) provide instructions to follow, even if it’s not your first time performing IPR, sometimes circumstances change. However, whether it’s your first time performing IPR or you’re a seasoned professional, here’s some things you should watch out for during IPR:
The angle of suction for your saliva ejector – To ensure you don’t damage the soft tissues of your patient’s mouth, angle the saliva ejector so it catches runoff, but does not attach itself to the patient’s mouth. This might sound like a basic tip, but we all make mistakes!
Passing instruments safely - Make sure you’re passing your instruments safely and following guidance.
IPR disc protection - If you are working with a practitioner who is using an IPR disc, please ensure that they use an IPR disc protector.
Pre-checking the correct thickness strips – It's always worth double-checking in cases such as IPR. To paraphrase an old carpenter’s saying “Measure twice, file once!”
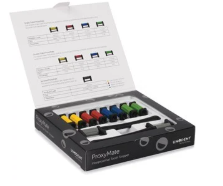
Types of IPR Tools & Products
You’ll be using a wide range of tools throughout an IPR procedure, some of which may include:
Manual IPR Tools
These are typically hand strips, abrasive strips, or lightning strips. Being either single-sided or double-sided for controlled abrasion. There are also serrated starter strips, which are excellent for opening contact and starting the reduction process.
These strips tend to generate lower heat than mechanical or handpiece powered IPR systems, as they are being controlled by hand and operate at slower speeds. The hand-powered nature of these strips also allows for greater control over the reduction process. Additionally, these strips tend to be less expensive than some other IPR options, such as discs.
Regarding potential downsides of these manual tools, the flaws are quite typical of hand tools. They are time consuming, and can generate operator fatigue.
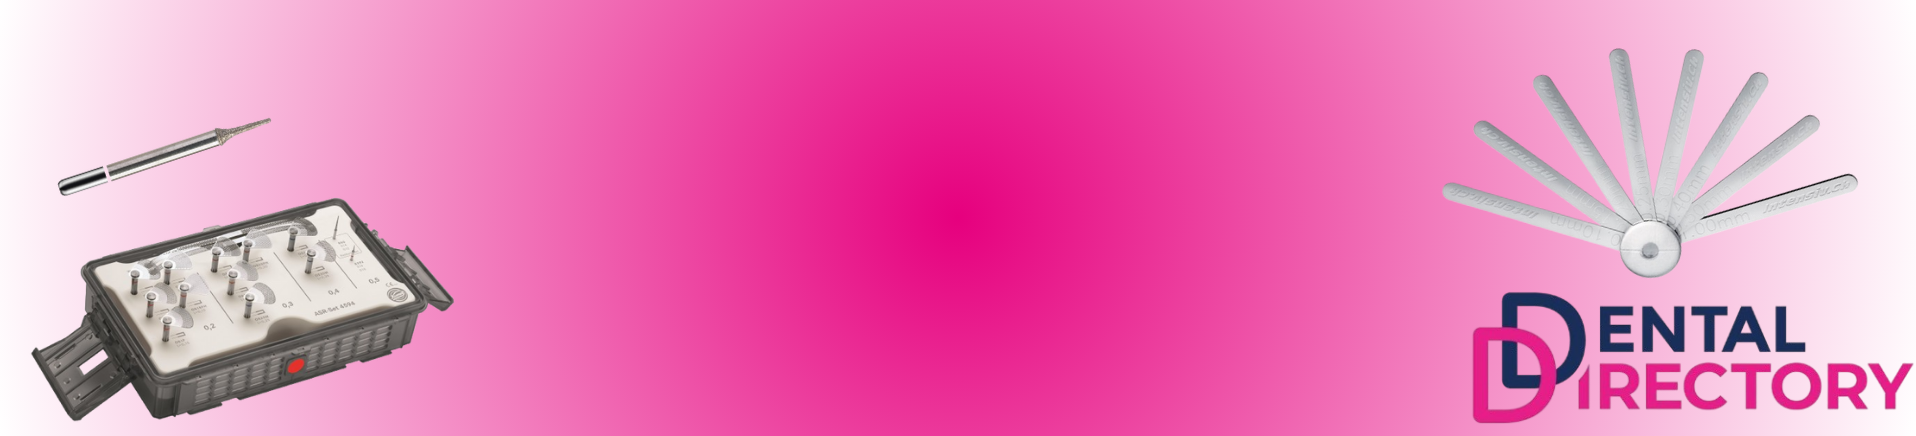
Mechanical & Powered IPR Systems
These are typically using diamond-coated rotary discs which are attached to a straight handpiece, using the abrasive force of their rotations to create reduction. While these systems are exceptionally quick and efficient, their ability to quickly strip away enamel means they need to be used carefully, so that the amount of IPR created is ideal and within guidelines. There are also reciprocating IPR systems, which create abrasive force utilizing a controlled back-and-forth motion. This is safer for soft tissues than rotary discs.
These systems also come with different thicknesses and gauges for additional precision.
FAQ - Do I need a disc guard?
If you are using an IPR disc, you will need an IPR disc guard to protect the cheeks, lips, and gums from the IPR disc.
Finishing & Polishing Tools
Fine abrasives for finishing and detailing work. The finishing strips used in this stage are more flexible, and its polishing discs have a lower level of coarseness, so as to leave a smoother finish.
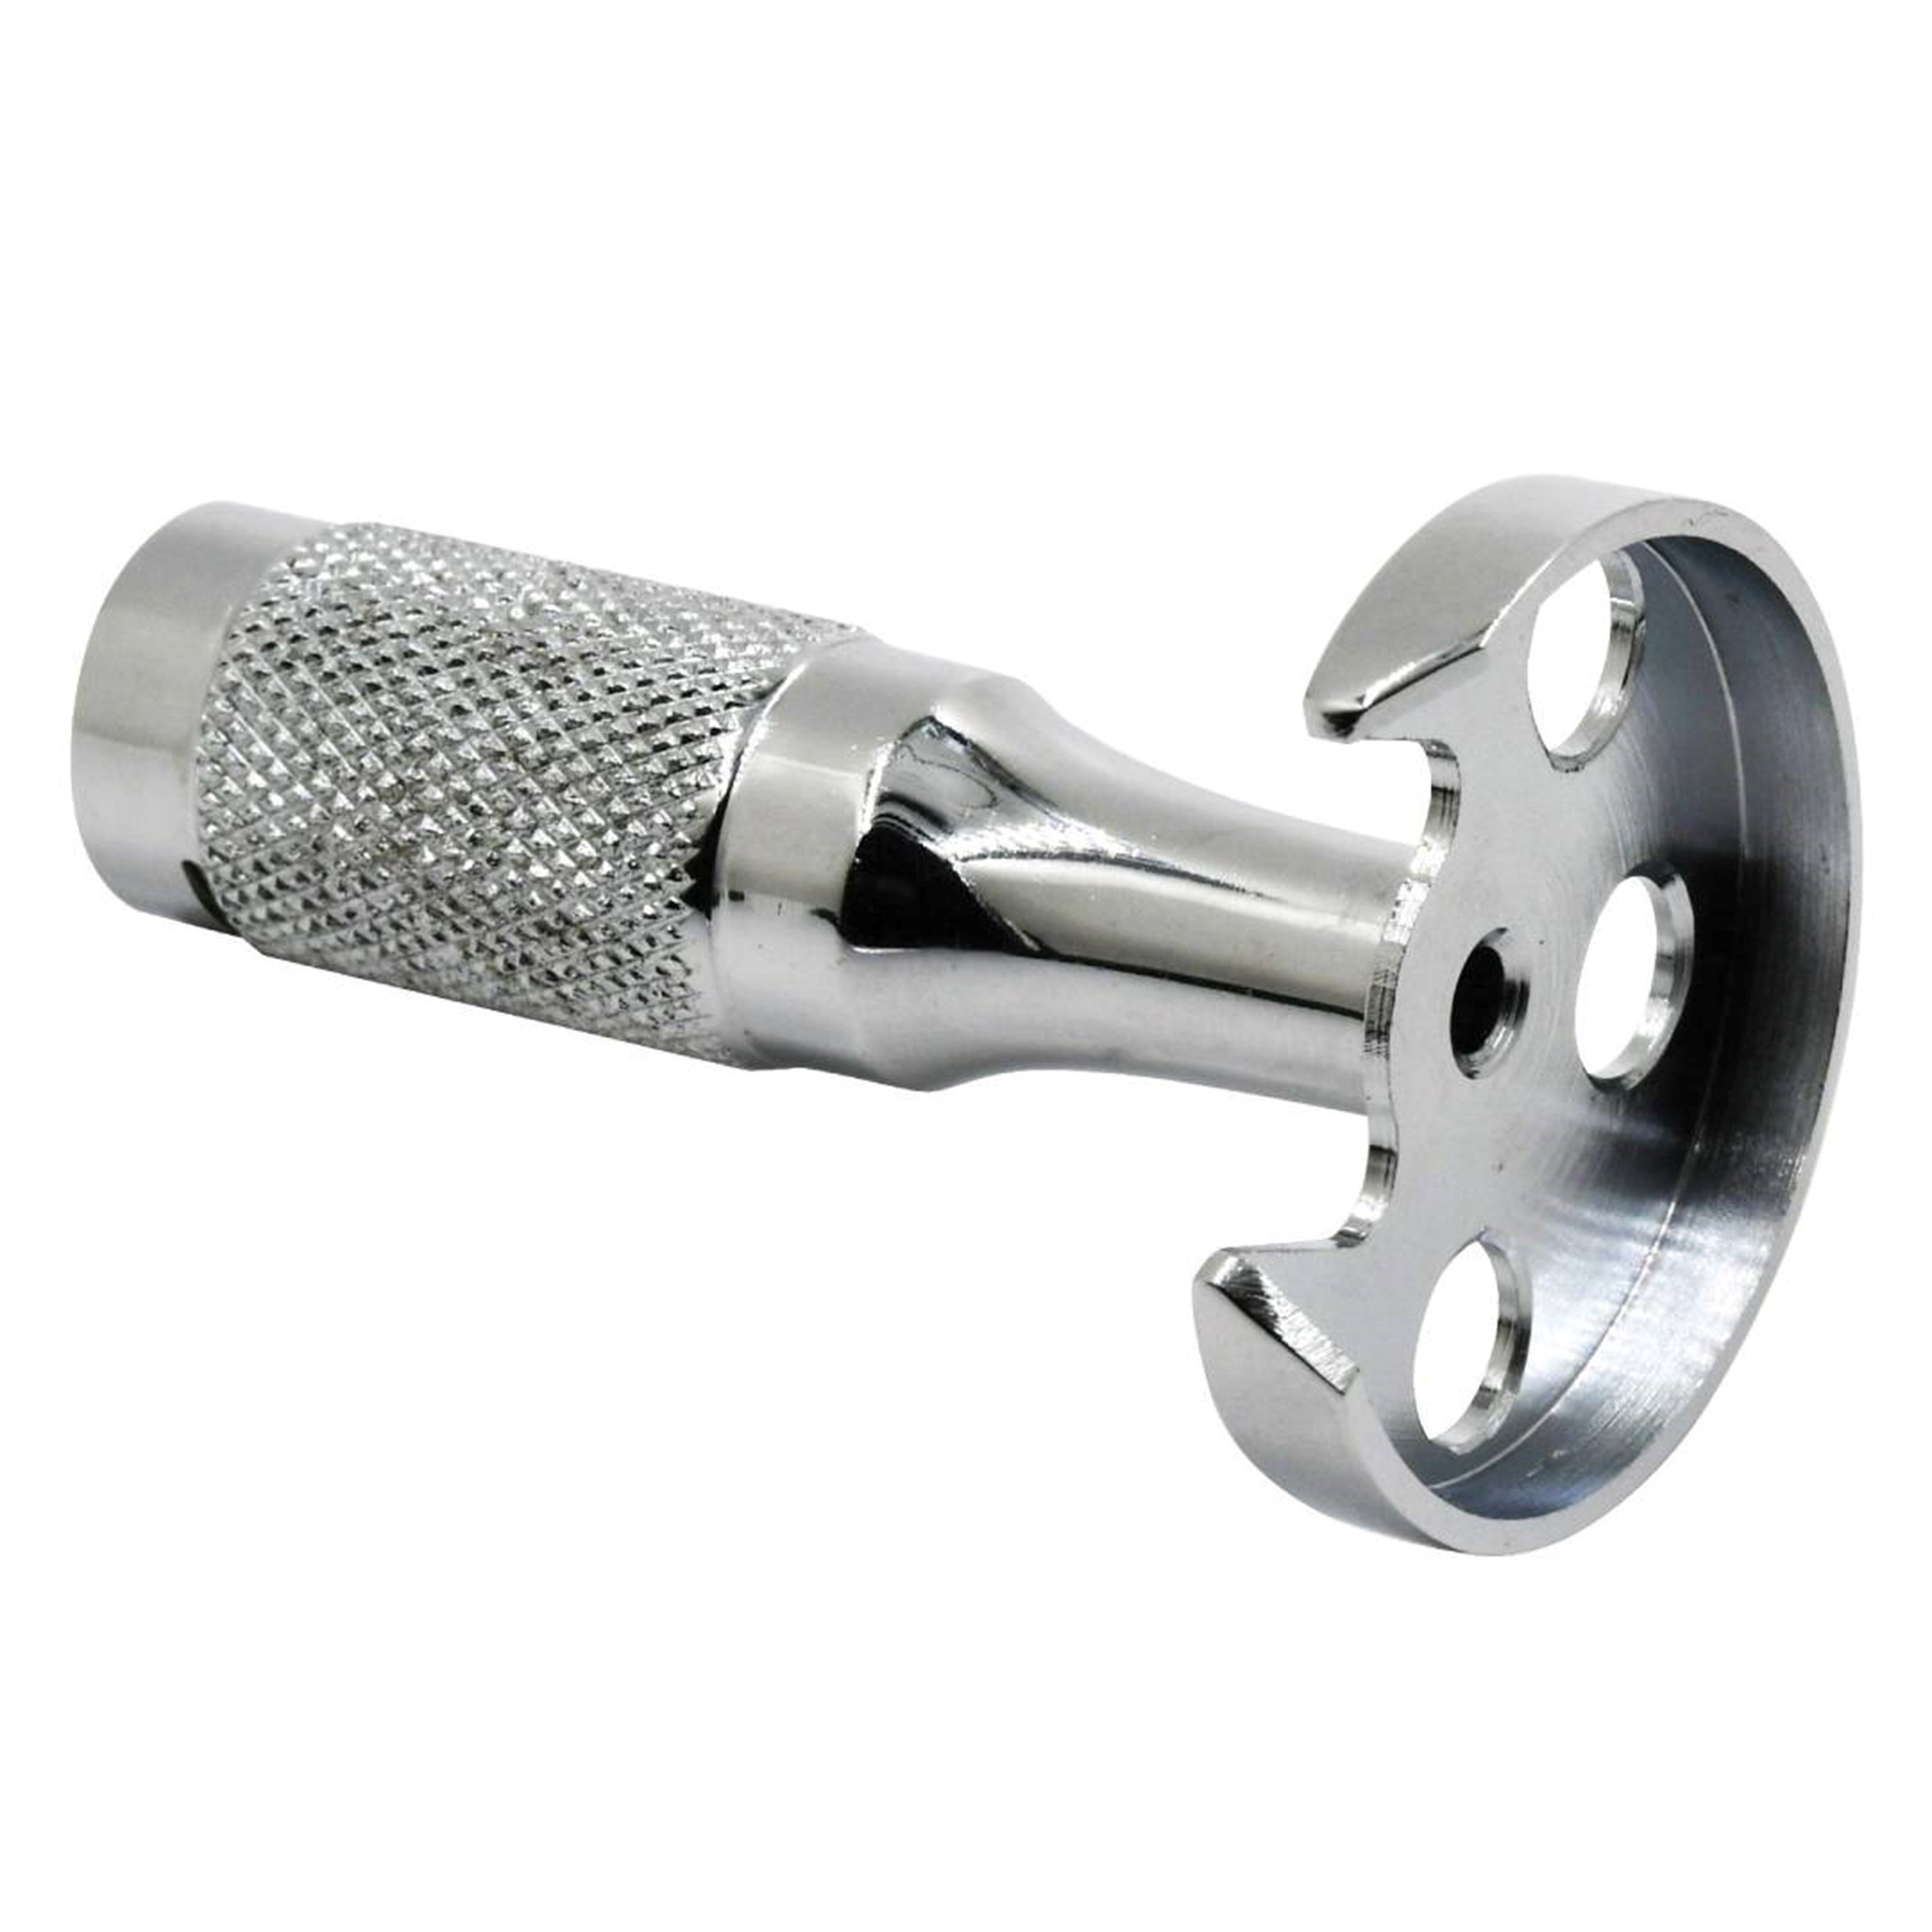
Measurement Tools
When measuring for an IPR procedure, you'd want an IPR gauge, a simple contracption which helps to measure the space of the interproximal area. This helps you to always be accurate throughout your reduction.
Tips To Ensure Safety, Comfort & Best Practice
Safe IPR is gold-standard IPR, and ensuring your patient can safely obtain the best outcomes requires teamwork, knowledge, and insight into enamel preservation.
TIP 1 – Enamel conservation is crucial for IPR outcomes. It is smallest amount of enamel possible
TIP 2 – Always double-check your measurements.
TIP 3 – Use irrigation if you’re working with a mechanical IPR system, to reduce the risk of overheating on contact points.
TIP 4 – Always avoid suboptimal techniques such as “Enamel gouging”
TIP 5 – Consider using soft tissue protection, such as guards, or even using different systems such as oscillating systems or manual IPR.
TIP 6 – Always stay on top of your cross-infection control.
TIP 7 – Make sure you’re working closely with your team. Good communication means smooth procedures.
Conclusion
In short, good technique, the right tools, and an excellent team can lead to safe enamel reduction in IPR, and optimal patient outcomes. Good teamwork between your dental nurses and dentists will lead to smoother, better procedures.